Logging in
To get started:- Go to the Legora Login Page
- Click Sign Up
- Enter your name and role and follow the instructions on screen
- You will be guided to create a Private Project for your own ad-hoc needs
Navigating projects
Upon entering a project, you’ll land on the Assistant view within your Private Project — the assistant is the central workspace where most tasks begin. From this page, right under the assistant, you can select a different project and it will take you directly there.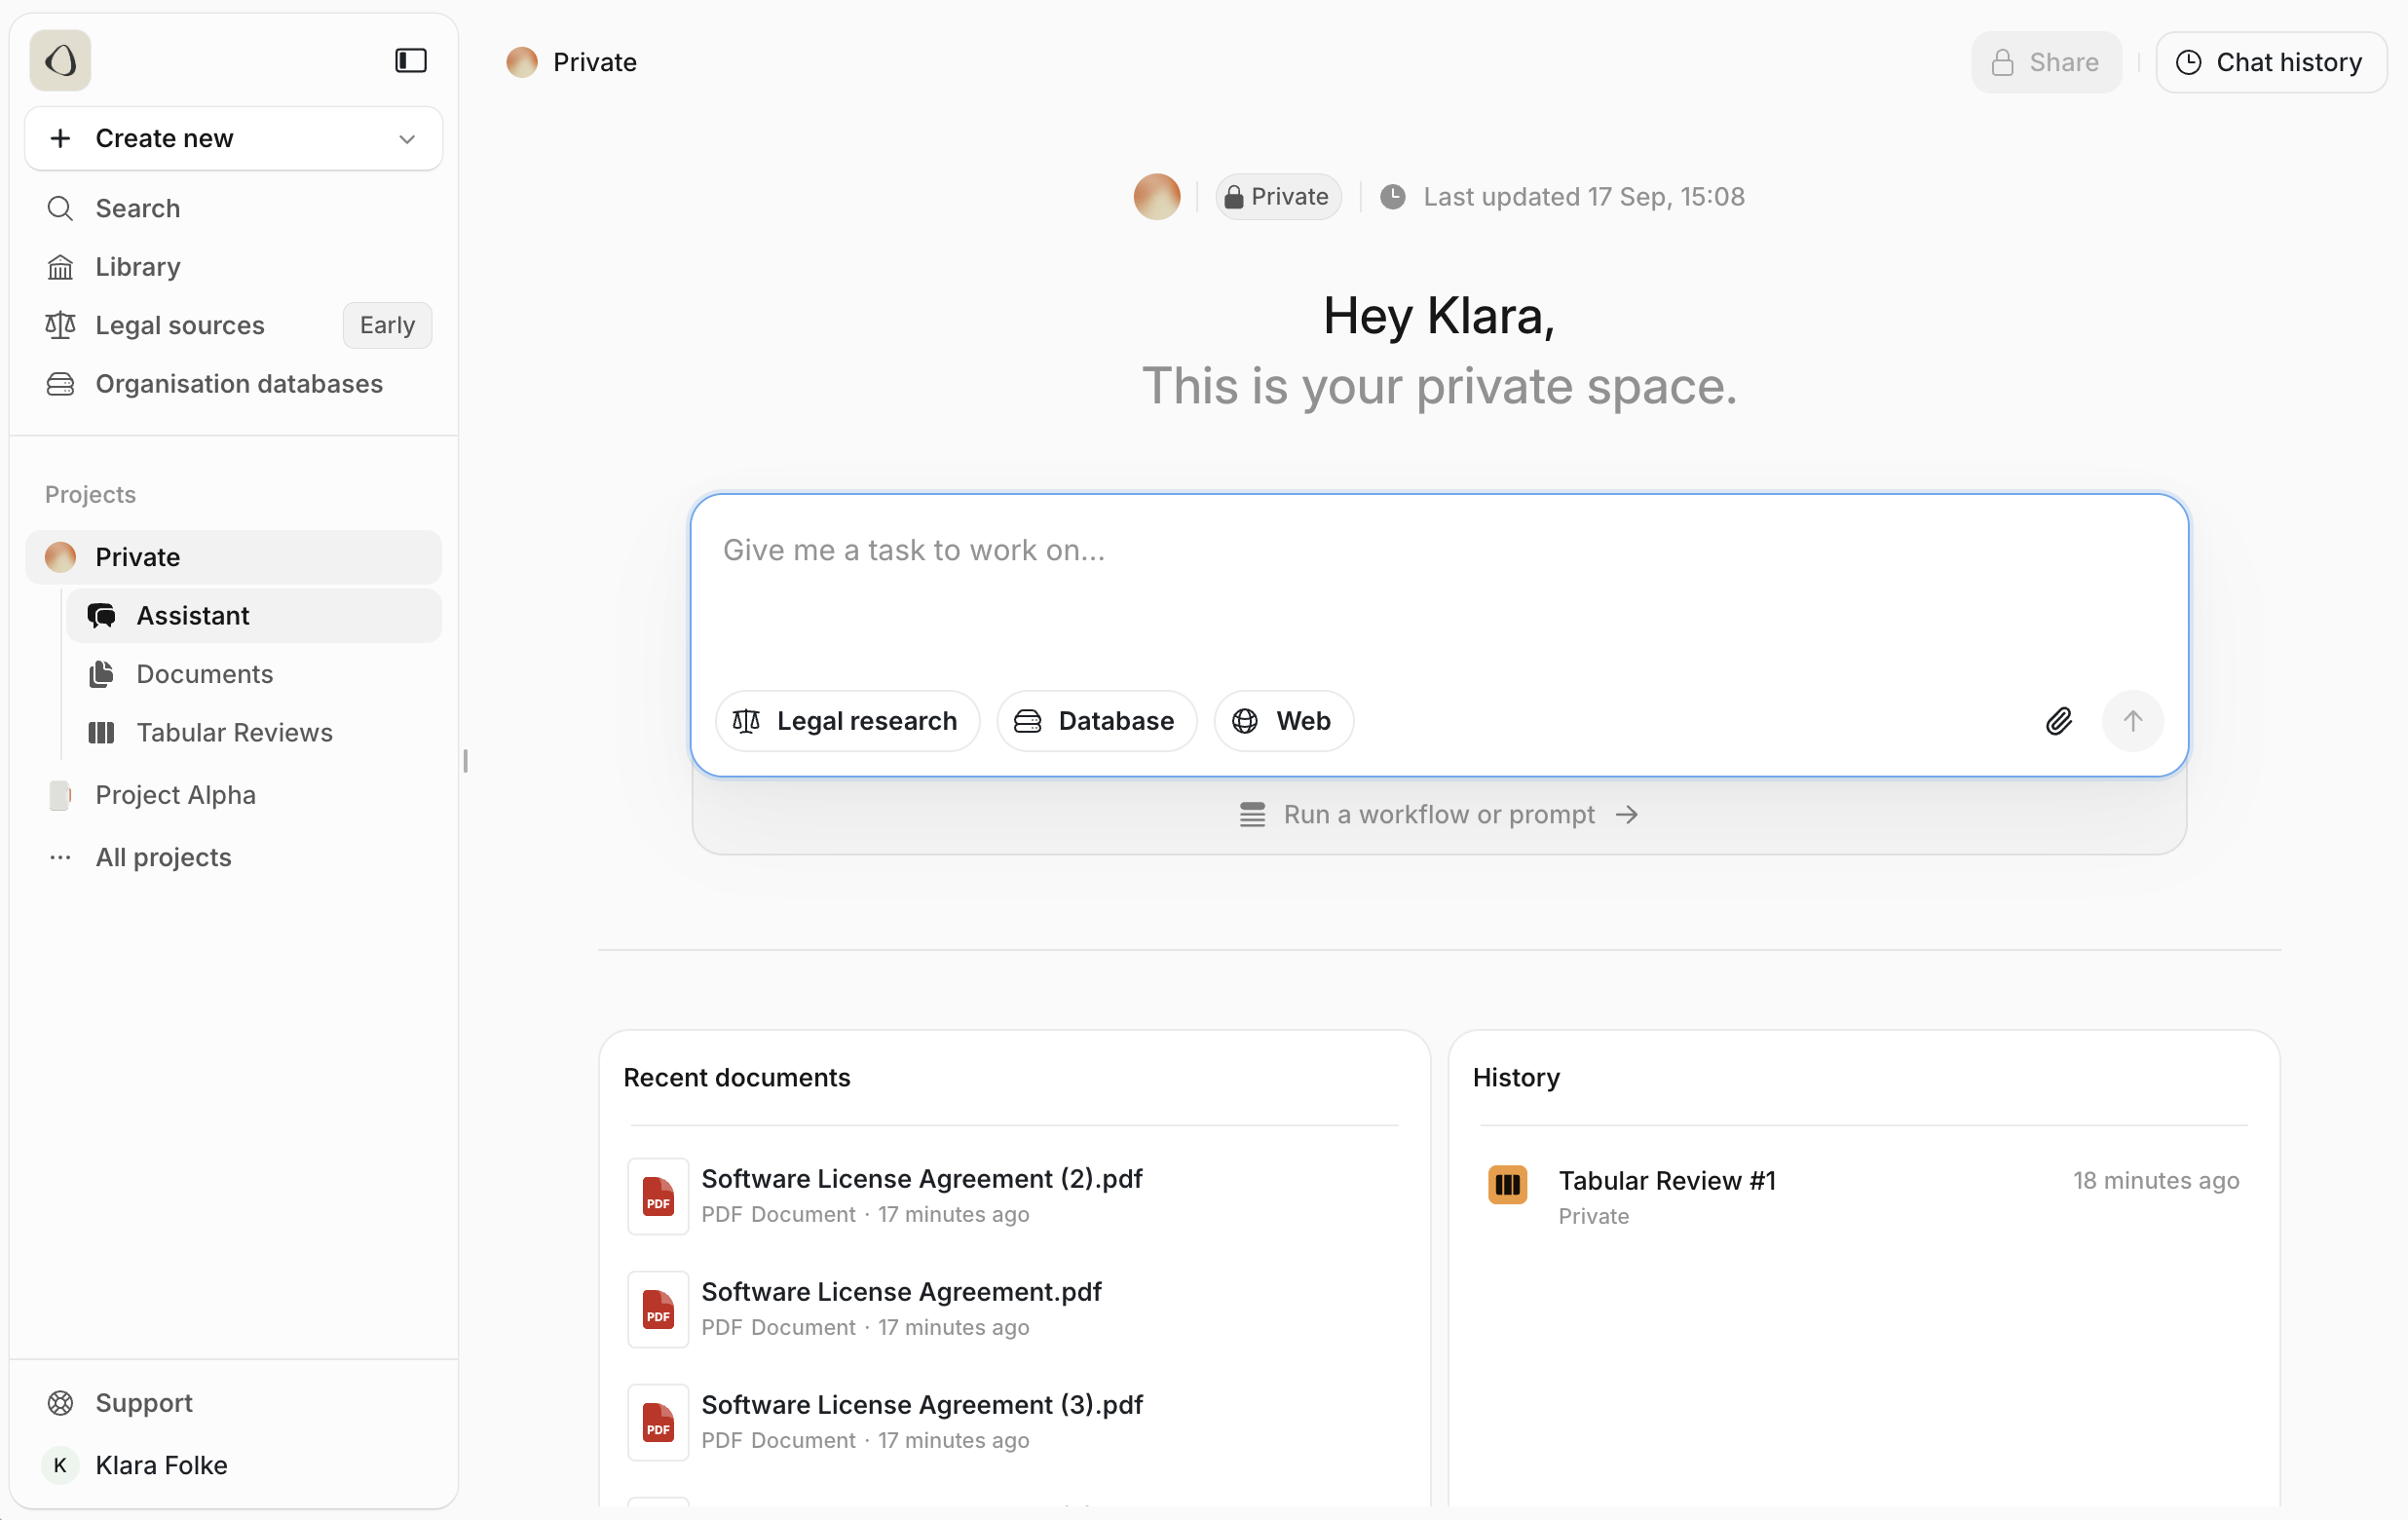
Documents vs. Organisation Databases
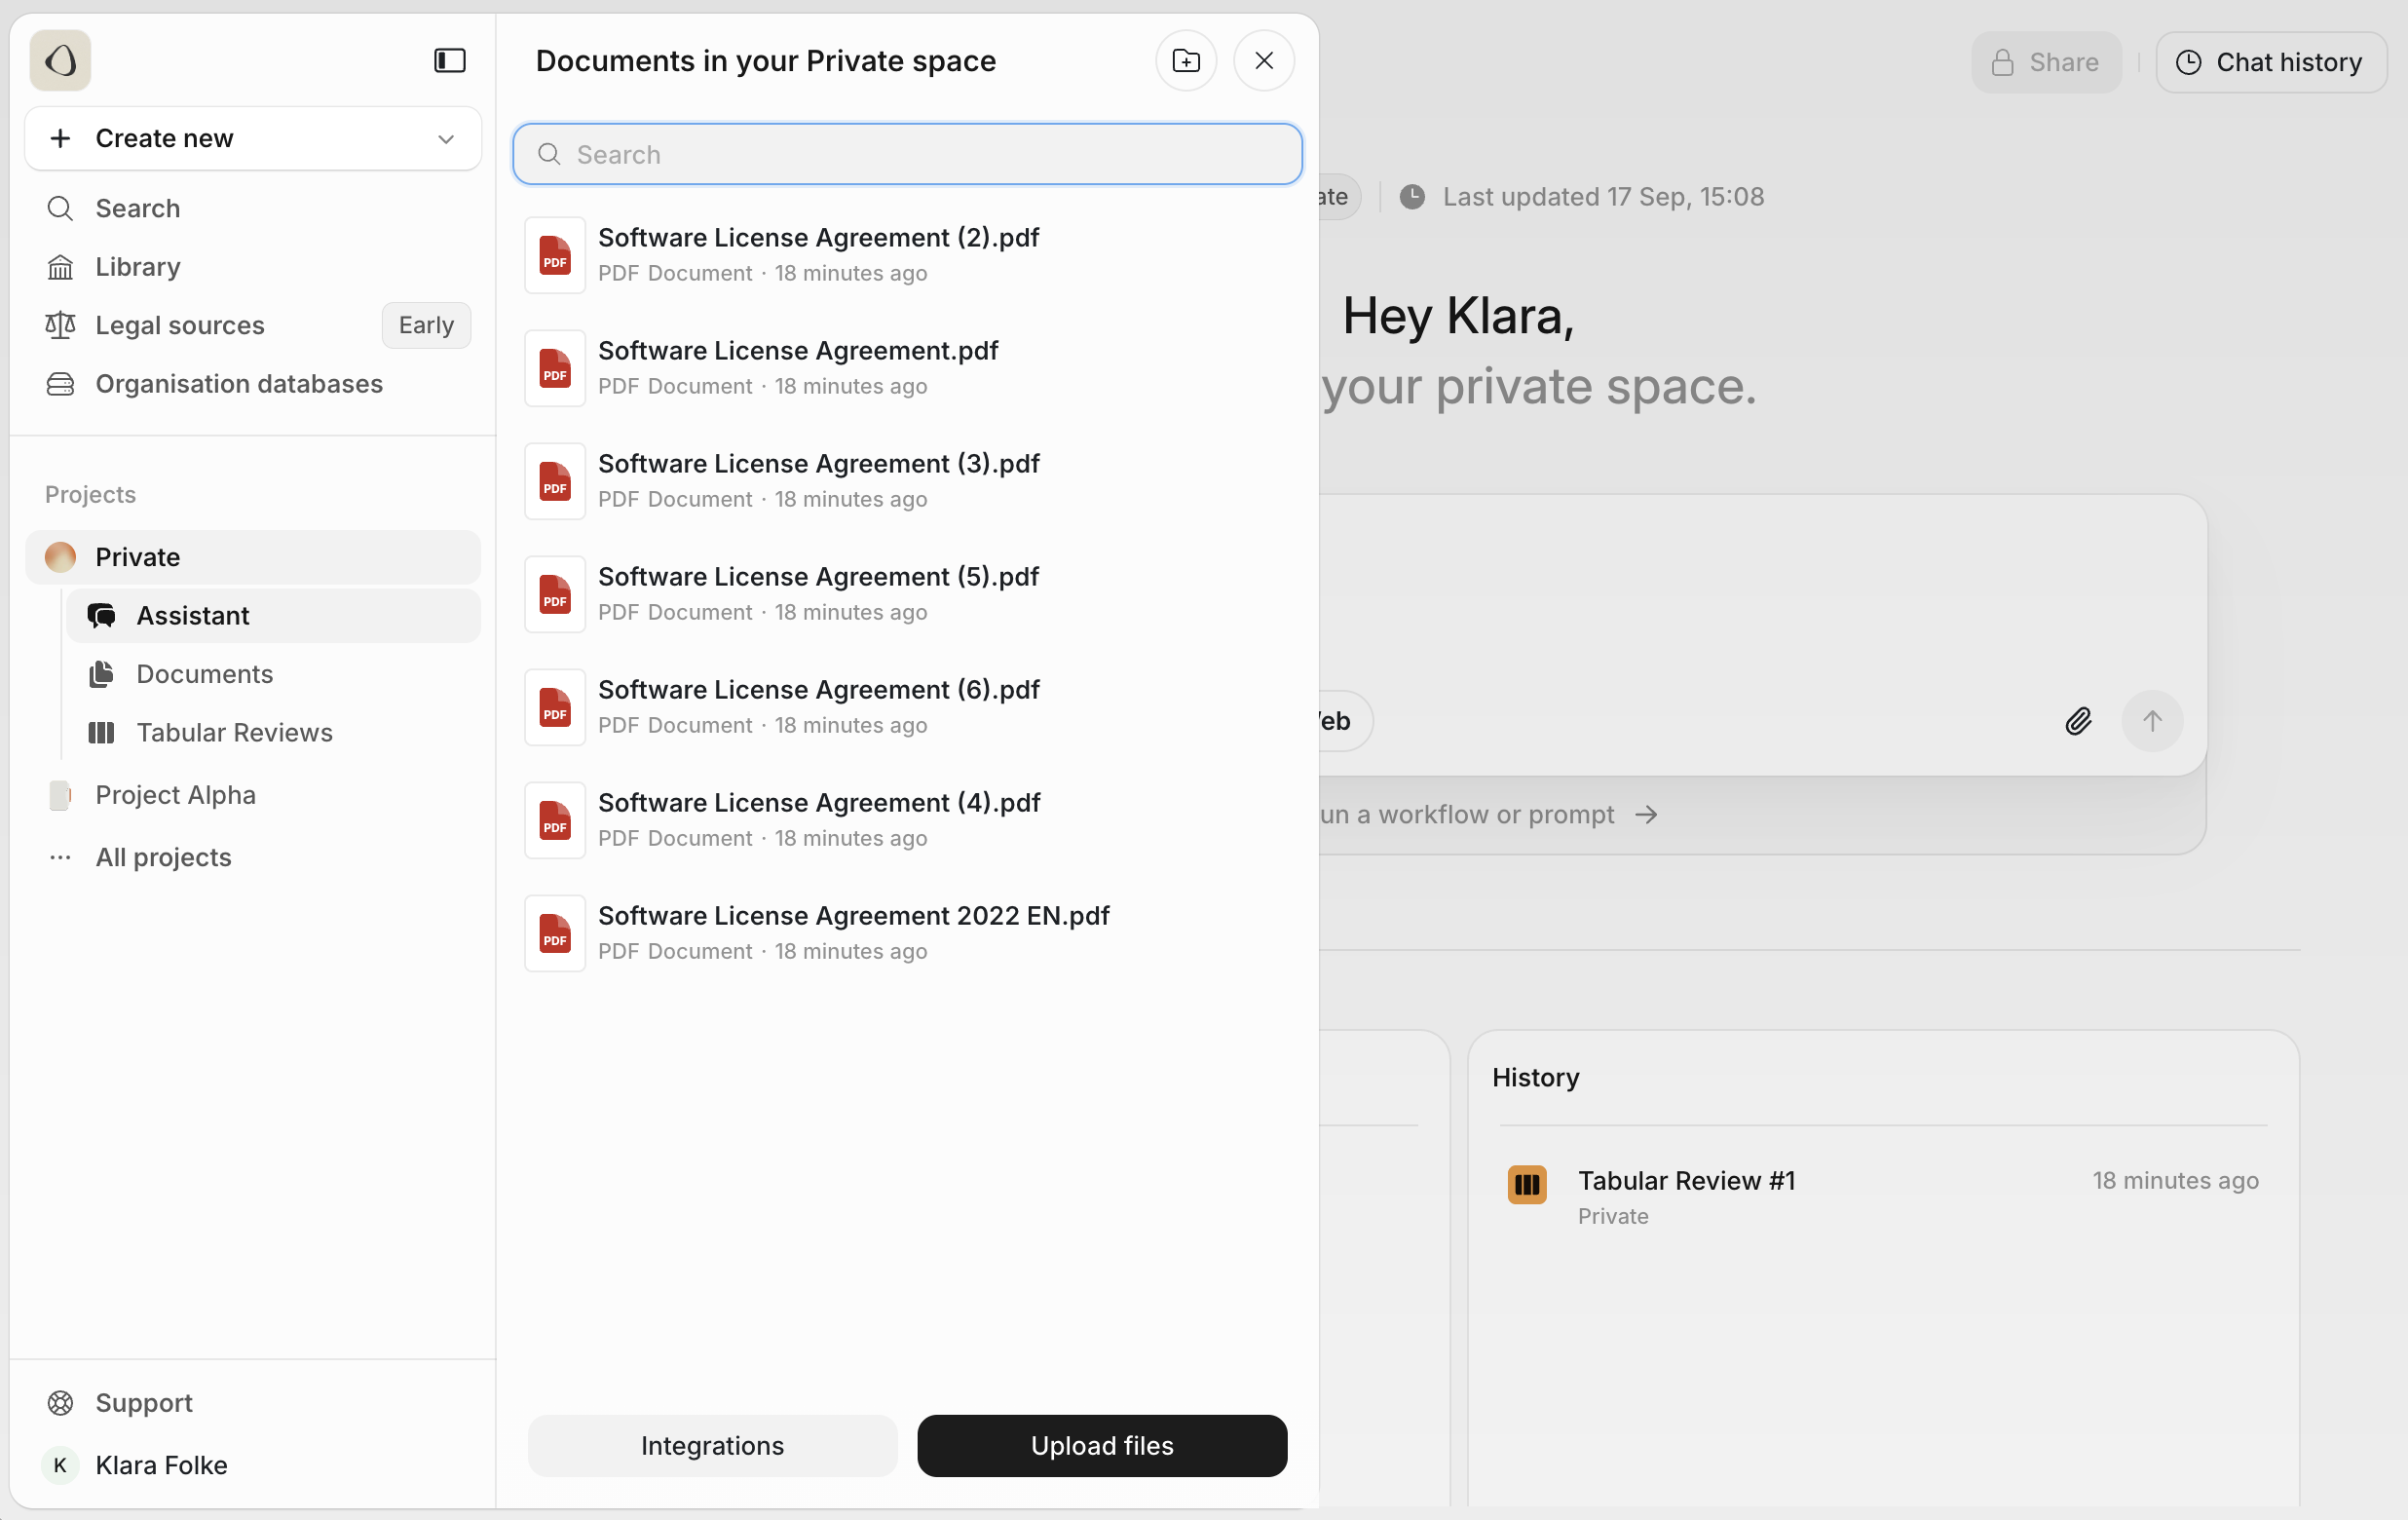
Legora separates files into two main categories:Documents
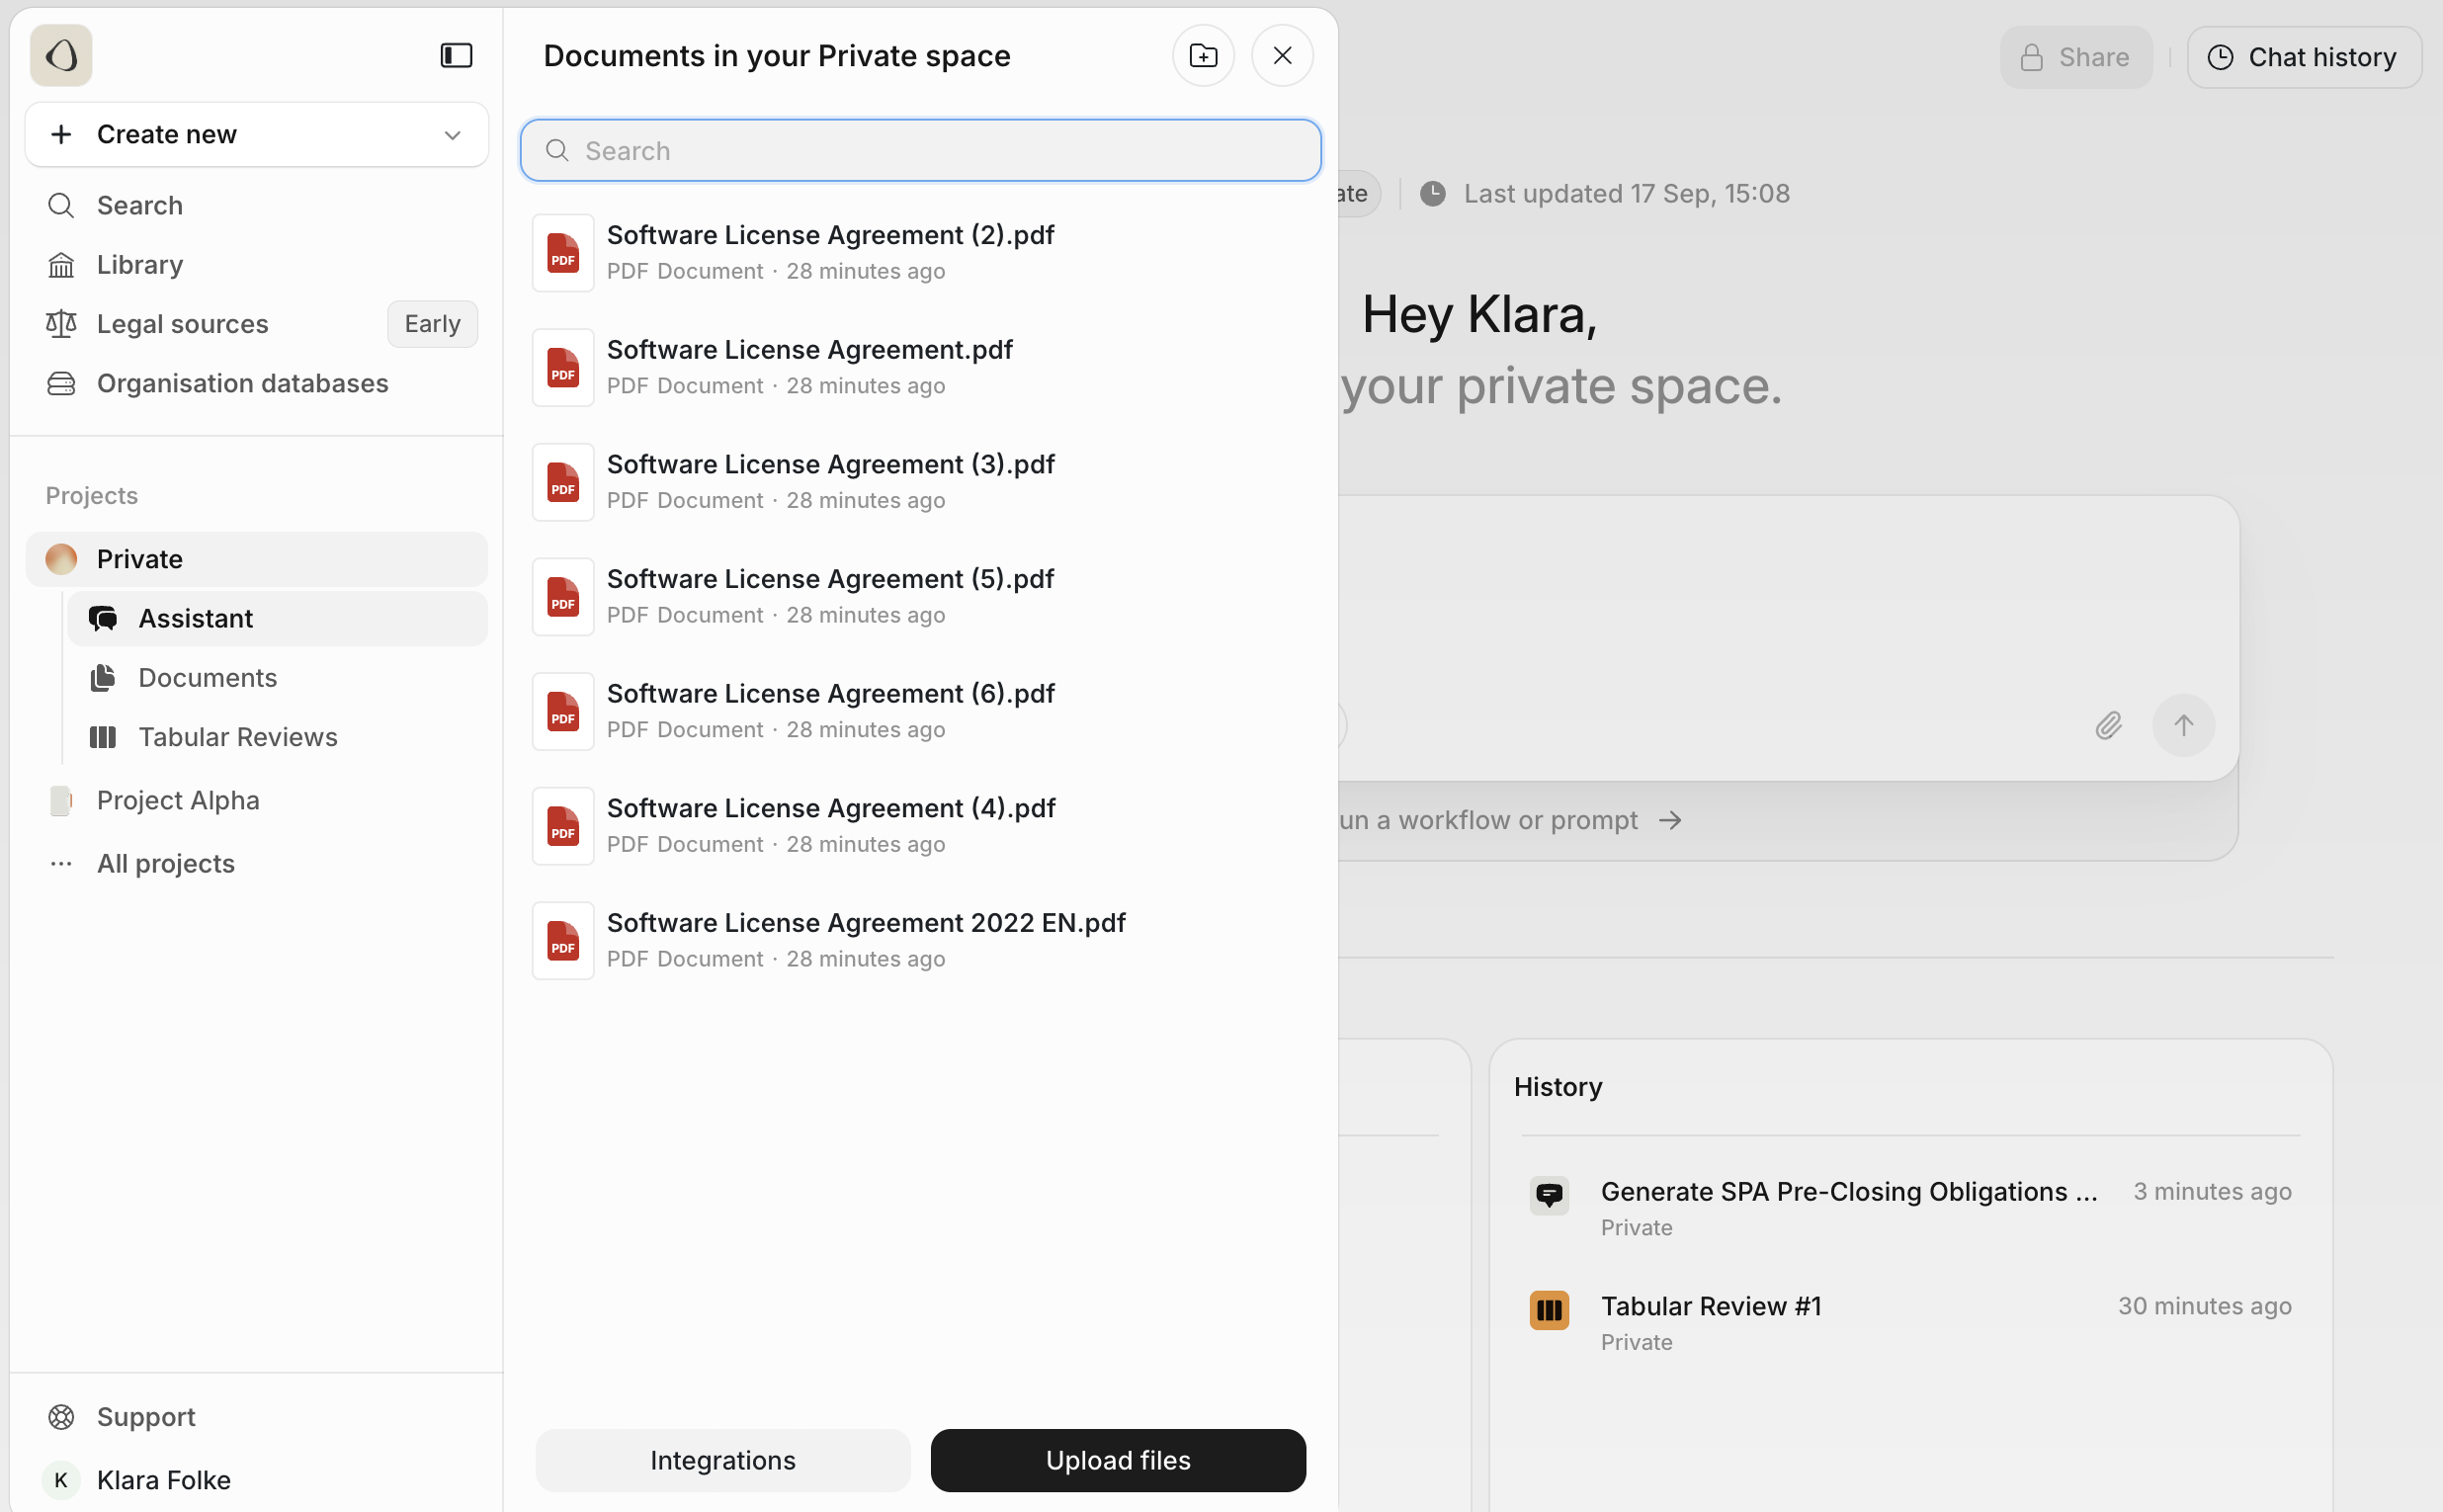
- Click Upload Files to select documents
- Drag and drop entire folders into the interface
- Maintain original folder structures during upload
Organisation Databases
This section contains shared resources across your workspace, such as:- Precedent agreements
- Clause libraries
- Model documents
Uploading & using documents
You can upload documents in two primary ways:- Via the Documents tab
- Directly within the Assistant view
- Download the result as a Word document
- Export the full conversation
- Organise documents and outputs into folders
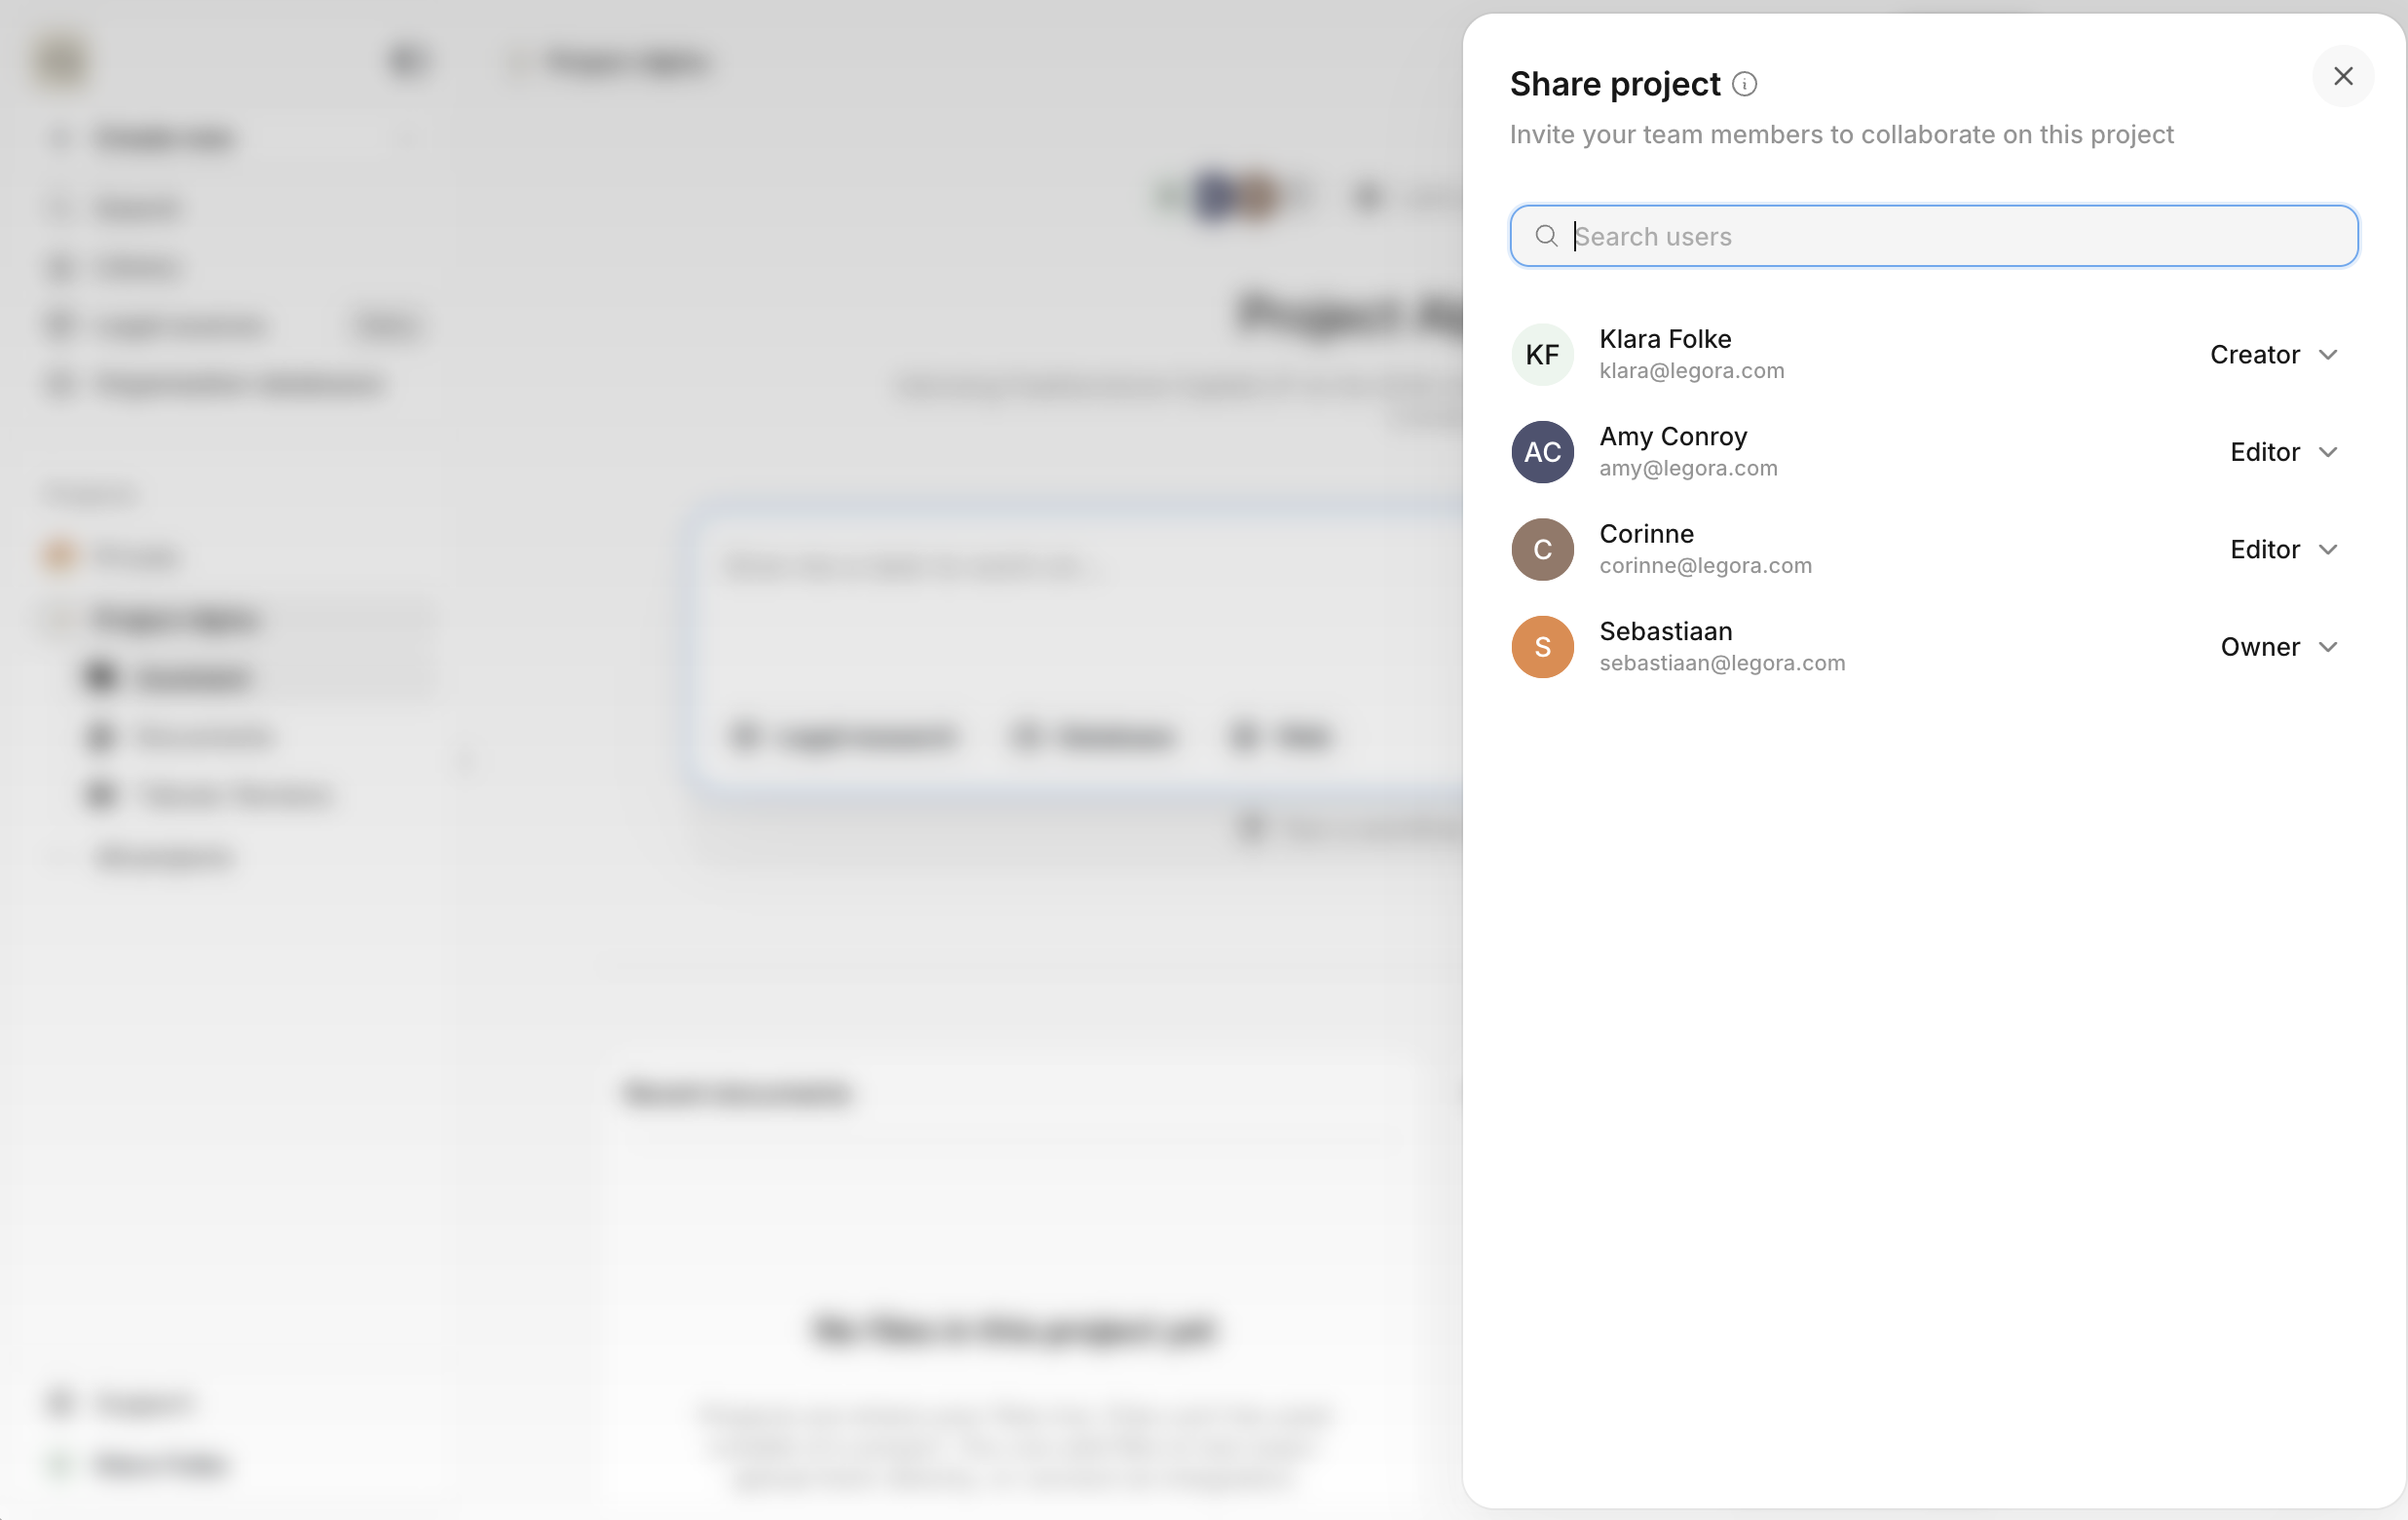
Sharing your project
You can share all of your projects, except your private project. To collaborate with others:- Click Share Project in the top-right corner
- Invite users by email
- Assign roles such as Editor or Viewer
- Remove or update access with a single click
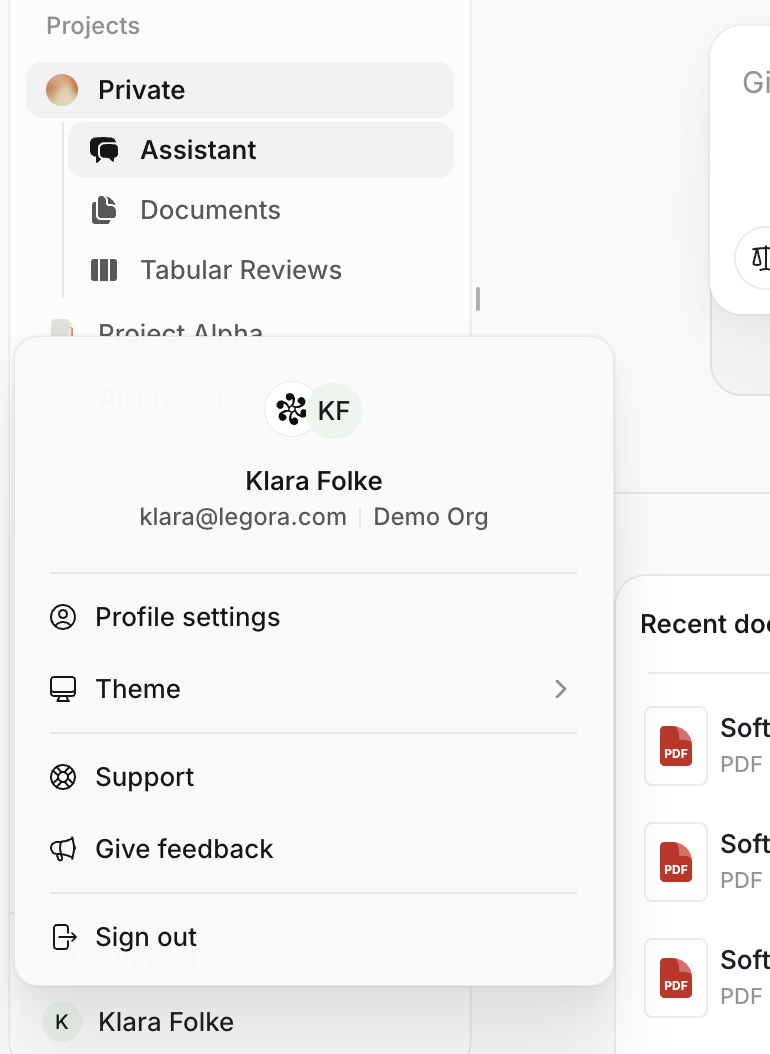
Settings & support
In the bottom-left menu, you’ll find:- Support Page – A direct link to the Help Centre with FAQs and detailed how-tos
- Profile Settings – Manage your profile information, notification preferences, and theme (light/dark mode)